Blender tutorial
how to split 3d model for printing blender, step by step
This guide shows how to split 3d model for printing blender workflows into clean, inspectable parts. You will prepare the mesh, place a cut, separate the result, and export parts for slicing.
Before you cut
Prerequisites
A clean split starts with a healthy mesh and a clear idea of where the finished seam should sit.
- what is 3d splitter for beginners Get the basic concept before choosing a cut plane, seam, or part layout.
- split 3d model for printing See how part separation fits into supports, bed size, orientation, and final assembly.
- split stl into parts online Use an STL-focused route when the mesh is already exported from Blender.
The workflow
Numbered steps
Use this repeatable Blender sequence to split a 3D model without losing the original or exporting untested geometry.
-
1
Prepare and duplicate the mesh
Open the model in Blender, apply object scale, and inspect the surface in Edit Mode. Save a backup, then duplicate the object so the untouched source remains available if the cut needs to be revised.
-
2
Place and apply the cut
Choose a plane that gives both parts a stable base or a practical assembly seam. Use Bisect for a straight division, or use a Boolean cutter when the split must follow a custom shape. Keep the cut side visible and check the preview from several angles.
-
3
Separate, close, and export
Separate the resulting regions into objects, fill any open boundary, and recalculate normals. In Object Mode, confirm each part is a closed solid, then export the selected pieces as separate STL files for the slicer.
Quick checks
Common errors and fixes
These checkpoints catch the failures that most often make a Blender split look correct on screen but fail during slicing.
- Check the seam from X, Y, and Z viewpoints before applying the cut.
- 3 axes
- Inspect both the retained model side and the newly created cut side.
- 2 sides
- Treat each exported part as one closed mesh before sending it to a slicer.
- 1 mesh
Choose the right route
Advanced tips
Blender gives you control over geometry and seam design; a dedicated 3d splitter is often better when the STL is already finished and only needs a practical division.
| Blender cut workflow | Dedicated 3d splitter | |
|---|---|---|
| Best starting point | Editable source file with modifiers, materials, or a custom seam | Finished STL that needs a straightforward part split |
| Cut control | Precise control over planes, Boolean shapes, and object boundaries | Focused controls for dividing an existing mesh |
| Mesh repair | You can inspect normals, fill faces, and repair topology manually | Repair options depend on the splitter route and input mesh |
| Learning curve | More setup because Blender exposes the full modeling workflow | Less modeling overhead for a prepared STL |
| Repeatability | Excellent when the operation is saved in a Blender file or modifier stack | Useful for quick one-off divisions of exported models |
| Final verification | Inspect each object in Blender, then confirm the slicer preview | Still requires a slicer preview after the split and export |
Know the limits
Advanced tips: route limits
A Blender tutorial can explain the geometry workflow, but no split method removes every printing or modeling constraint.
A cut does not guarantee a printable base
A mathematically clean division may leave both parts with awkward overhangs or tiny contact areas.
What to do instead
Rotate the seam, add a small alignment feature, or reorient each part in the slicer.
Boolean results can expose mesh problems
Non-manifold edges, overlapping shells, flipped normals, and very thin walls can create missing or unwanted faces.
What to do instead
Apply scale, inspect normals, use 3D Print Toolbox checks, and repair the source before exporting.
The seam may need assembly planning
Two pieces can fit geometrically but still be difficult to glue, pin, or align after printing.
What to do instead
Add a flat registration surface, dowel holes, or a shallow keyed joint where the model allows it.
STL export removes Blender scene context
An STL carries surface geometry, not your Blender collections, modifiers, materials, or edit history.
What to do instead
Keep the native Blender file as the source of truth and export clearly named parts only after verification.
Inspect the result
Advanced tips: visual comparison
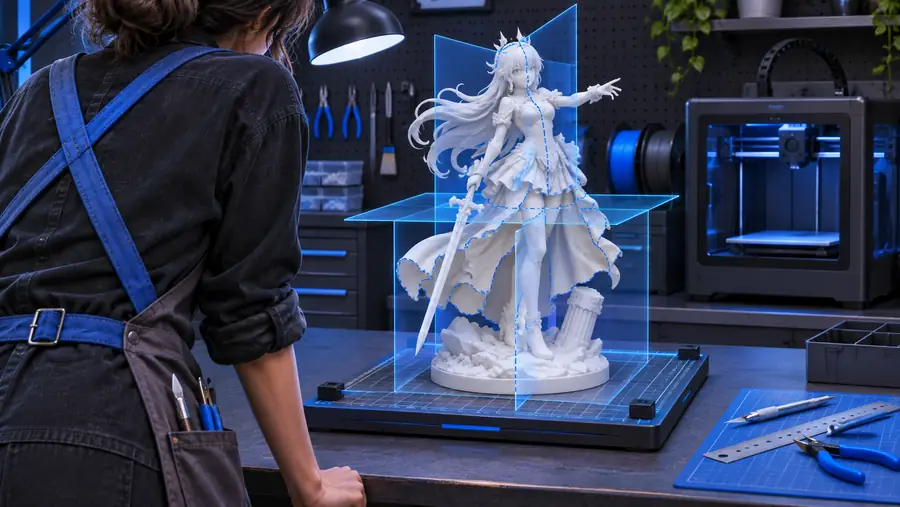
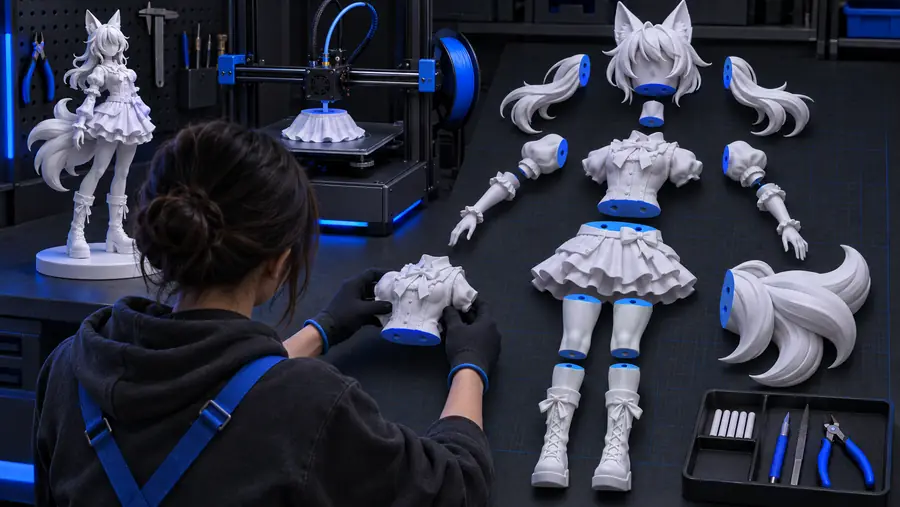
The useful result is not just two objects; each part should have a deliberate seam, closed surfaces, and a sensible orientation for printing.
Before the splitAfter the splitReady for the next step
Advanced tips: finish the workflow
Once your Blender cut passes the visual and mesh checks, export each part with a clear filename and open it in your slicer. If the source is already an STL and you do not need custom topology work, use the 3d splitter route to make the division more directly. The goal is a pair of parts that slice cleanly, fit together as planned, and remain easy to revise from the original file.
Move from Blender geometry to printable parts
- Keep the original Blender file unchanged
- Preview every part in the slicer
- Name exports by part and orientation
Common questions
Tutorial FAQ
These answers cover the practical questions behind how to split 3d model for printing blender workflows.
Open and duplicate the model, apply its scale, then use Bisect or a Boolean cutter to define the seam. Separate the resulting regions, close open boundaries, recalculate normals, and export each closed part as its own STL.
Yes. Import the STL, check its scale and mesh condition, then use a cutting plane or Boolean object to divide it. Blender can handle the separation and export, but the final parts should still be checked in a slicer.
Bisect is a practical choice for a straight planar cut because it can divide and remove one side in a controlled operation. Boolean Difference is more flexible when the seam needs to follow a custom cutter shape.
Common causes include open boundaries, flipped normals, non-manifold edges, self-intersections, or walls that are too thin for the selected print settings. Inspect both objects after separation, repair the mesh, and confirm the slicer shows solid regions rather than warnings.
Save the Blender file before editing and duplicate the source object before applying the cut. Keep the original hidden or in a separate collection, and export only clearly named copies of the verified parts.