Before the cut
Is a 3d splitter free for your STL project?
A search for 3d splitter free often starts with a practical question: can you divide one STL without installing a full modeling application? Start with a copy of your file, a proposed cut location, and a plan to inspect both resulting parts. Check the tool’s current access terms before relying on it for a project.
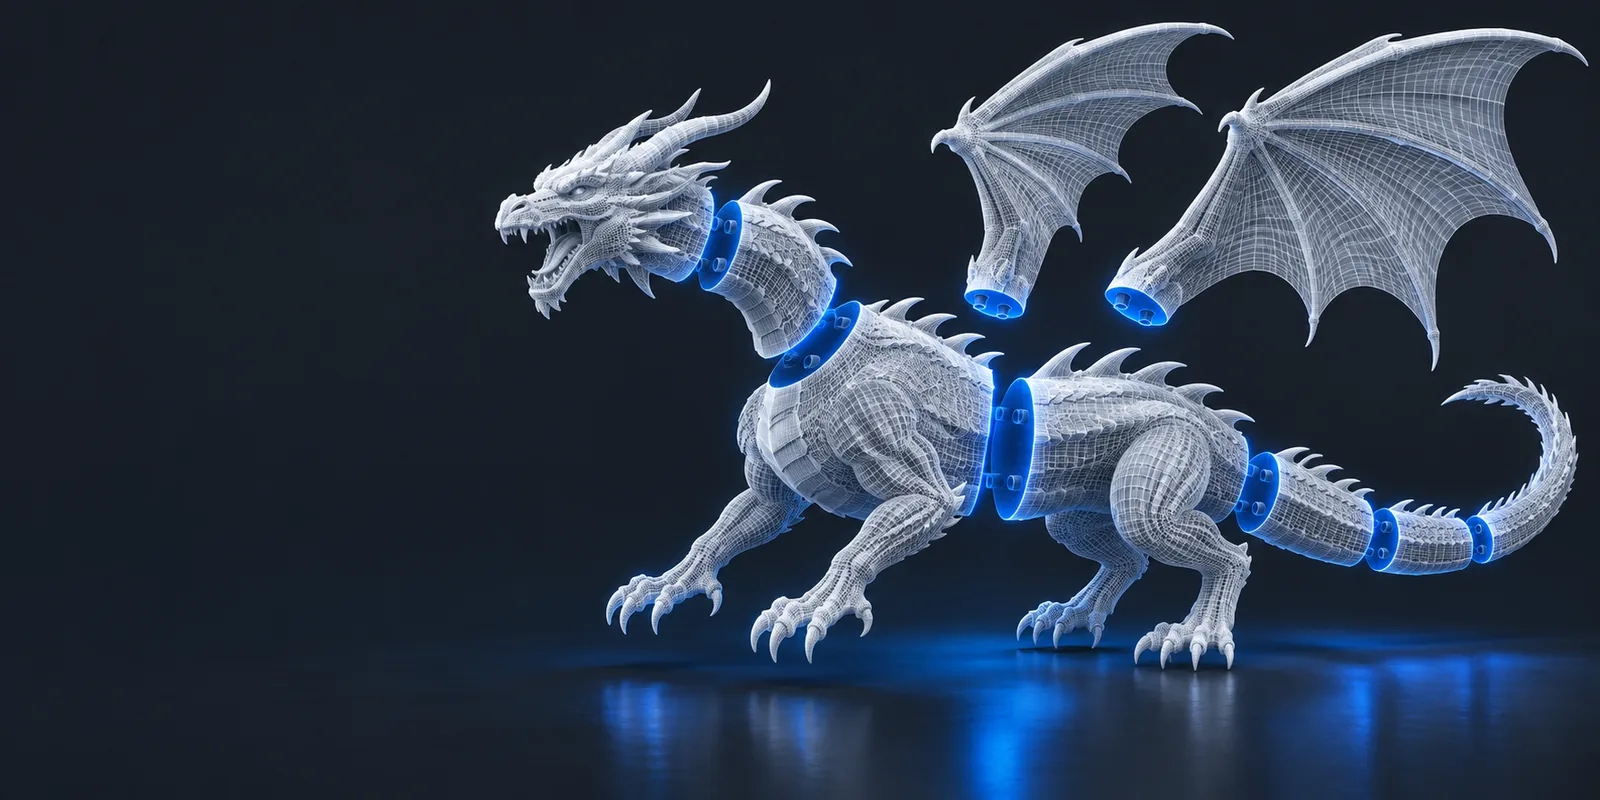
Related preparation
Choose a route that matches the file and the kind of cut you need. These related guides address different decisions before you spend time preparing a mesh.
- split stl into parts online Follow an STL-focused workflow when you already have the file you intend to divide.
- 3d splitter online Consider a browser-based workflow if avoiding a local installation is your main priority.
- how to split 3d model for printing blender Use a modeling workflow when you need direct control over cut geometry and subsequent mesh repairs.
one full run-through
For a first attempt, treat the split as a test rather than assuming the first cut will be printable.
-
1
Prepare a safe copy
Duplicate the original STL and note its dimensions. Decide where the seam can sit without crossing a face, a delicate feature, or an area that must remain dimensionally accurate. A 3d splitter cannot choose that location for you.
-
2
Try the cut
Open the STL splitter and check its available controls and access terms. If the tool supports the cut you planned, divide the copy and retain the original. Do not assume that a free search result guarantees a particular export option.
-
3
Inspect both parts
Review each piece independently before slicing. Look for open cut faces, unexpectedly thin walls, tiny detached islands, and parts that still exceed your printer’s build volume. Reposition the cut or repair the mesh where necessary.
options table
The lower-friction option depends on whether you need a straightforward cut or detailed editing afterward. Confirm the current terms of any tool before uploading a file.
| Browser-based STL splitter | Local mesh editor | |
|---|---|---|
| Initial setup | Open the tool and check its requirements | Install and configure editing software |
| Input preparation | Have a suitable STL ready | Import the model and inspect its geometry |
| Cut control | Depends on the controls the tool provides | Can be adjusted through the editor’s modeling tools |
| Repair work | May require a separate repair step | Can be performed in a capable mesh editor |
| File handling | Review upload and retention terms first | Can remain on your device |
| Access cost | Verify current limits before starting | Depends on the editor you select |
| Best fit | Testing a relatively simple STL cut | Refining seams, joints, or difficult geometry |
what fails
A completed cut is not proof that the pieces will assemble or print. These problems need inspection beyond the initial 3d splitter step.
No guaranteed free access
This page cannot establish the linked tool’s current price, usage limits, or export availability. Those conditions can change independently of this guide.
What to do instead
Read the terms shown by the tool before uploading or investing time in a cut.
No automatic joint design
A plain split does not necessarily add pegs, sockets, alignment marks, or assembly clearance.
What to do instead
Design joining features in a mesh or CAD editor, then test their fit.
No guaranteed mesh repair
An STL with holes, overlapping shells, or self-intersections can yield pieces that a slicer cannot interpret reliably.
What to do instead
Repair the source mesh and check each resulting part in a slicer.
No print-fit guarantee
Separating an object does not ensure either piece fits your build volume or has a stable printing orientation.
What to do instead
Measure both parts and preview their placement before printing.
Check the result before printing
Bring a duplicate STL, choose a seam, and inspect the tool’s current access conditions. After using the 3d splitter, verify both pieces in your slicer before treating them as finished print files.
Make the first cut a test
- Keep the original STL unchanged
- Inspect each cut face
- Confirm both parts fit your printer
its own FAQ
A search result does not establish a tool’s current access terms. Check the linked tool for any limits or conditions before you upload an STL or depend on an export.
A browser-based STL splitter may let you attempt a cut without installing a mesh editor. You may still need local software to repair geometry, design connectors, or inspect the pieces in a slicer.
Do not assume a completed split produces closed, printable solids. Inspect each output for holes and thin areas, then confirm that your slicer recognizes each piece as intended.
Keep a local copy of the original and confirm that the file is an STL suitable for the tool. Review the tool’s file-handling terms, especially if the design is private or commercially sensitive.