Large-model maker
A statue or prop exceeds the available print bed and needs practical sections.
Separate pieces can be oriented and printed with less awkward overhang exposure.
STL preparation
An stl splitter online helps divide one mesh into manageable pieces before fabrication. Check the cut, review the resulting parts, and continue with files that are easier to handle.
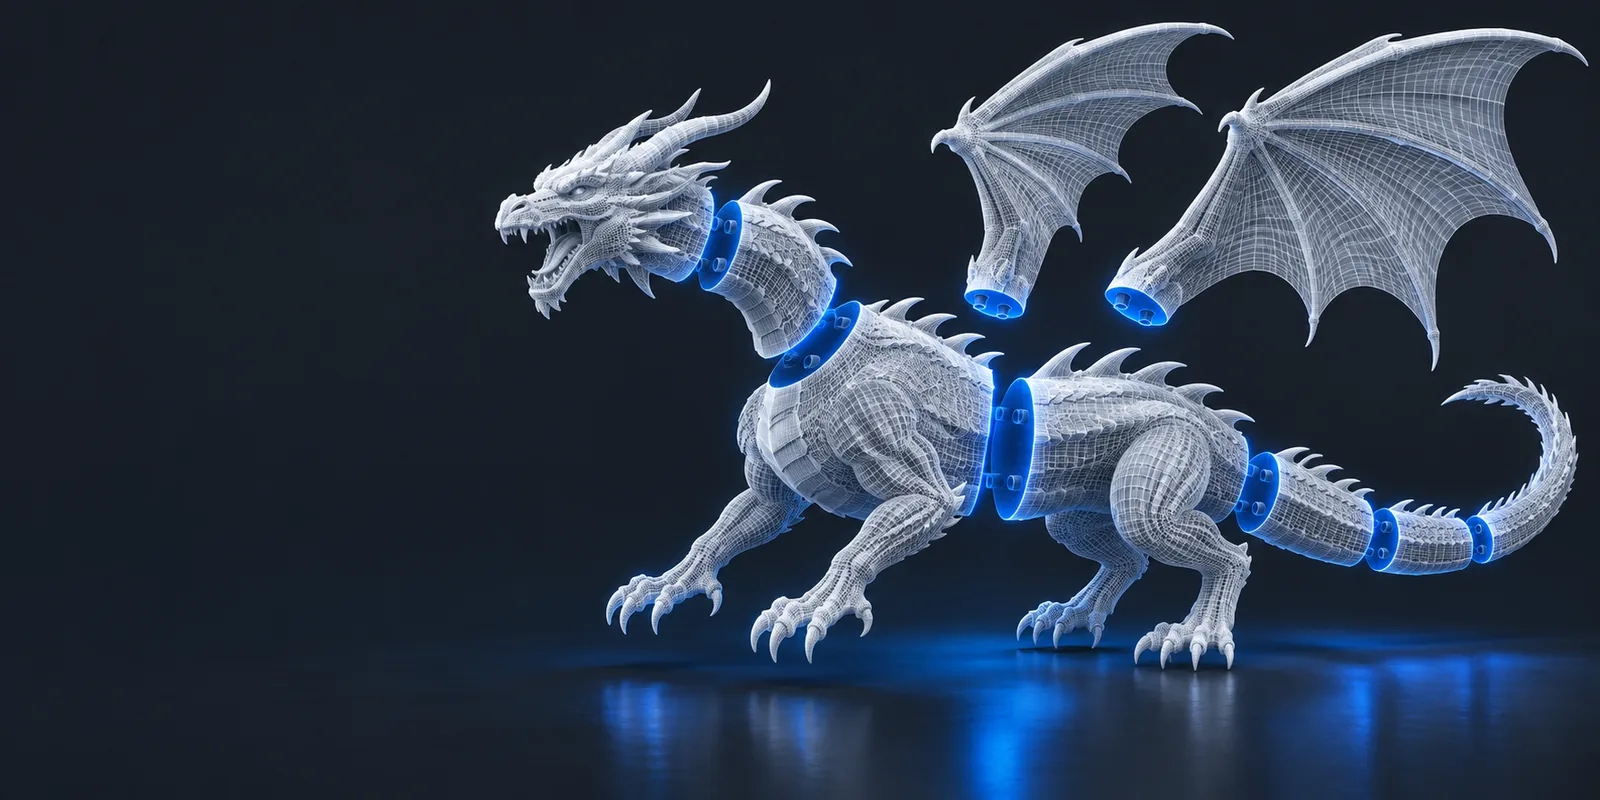
The key change is structural: one connected STL becomes multiple separate meshes that can be oriented, checked, and prepared independently.
Splitting changes the topology at the cut boundaries. The result can be useful and printable, but it is not identical to the original single-shell mesh.
A statue or prop exceeds the available print bed and needs practical sections.
Separate pieces can be oriented and printed with less awkward overhang exposure.
A downloaded model is difficult to inspect as one dense object.
Smaller sections make it easier to identify disconnected areas, thin walls, and damaged surfaces.
A model needs seams, mating surfaces, or a planned sequence of assembly.
The divided output provides a clearer starting point for checking fit before fabrication.
A browser-based handoff is preferable to learning a full modeling package for one preparation task.
The online workflow keeps the operation focused on the source STL and the intended part layout.
A reliable split is a short review loop: describe the intended division, inspect the generated structure, then prepare each part for the next stage.
State how many sections you need, where the cut should run, and whether the pieces need flat faces, alignment features, or a particular assembly order.
Look for open edges, unexpectedly thin walls, tiny fragments, and interfaces that may be difficult to print or join.
Orient each piece, check its scale and fit, then export or continue with the resulting meshes in the toolchain you use for fabrication.
The useful output is not just a new filename; it is a set of separate mesh regions that can be assessed one at a time before printing or downstream editing.
An online split can organize geometry, but it cannot replace every modeling, repair, or manufacturing decision.
A mathematically valid cut may still create a weak contact area, a visible join, or a poor surface for gluing.
What to do instead
Inspect the interface and refine the seam in a mesh or CAD editor when the fit is critical.
Non-manifold edges, inverted faces, self-intersections, and missing surfaces can affect the split or the final print.
What to do instead
Run a mesh-repair step first, then repeat the split and compare the resulting shells.
The split describes geometry, but bed size, support strategy, layer direction, and material strength remain application decisions.
What to do instead
Test each part in your slicer and revise the cut if support use or part strength is poor.
Separate pieces may look correct while pins, sockets, or mating planes still need tolerance adjustments.
What to do instead
Use a small test section or add a deliberate clearance in a modeling tool before the final print.
Compare the single imported mesh with the separated result: the goal is not simply more files, but parts that have a sensible relationship at their cut boundaries.
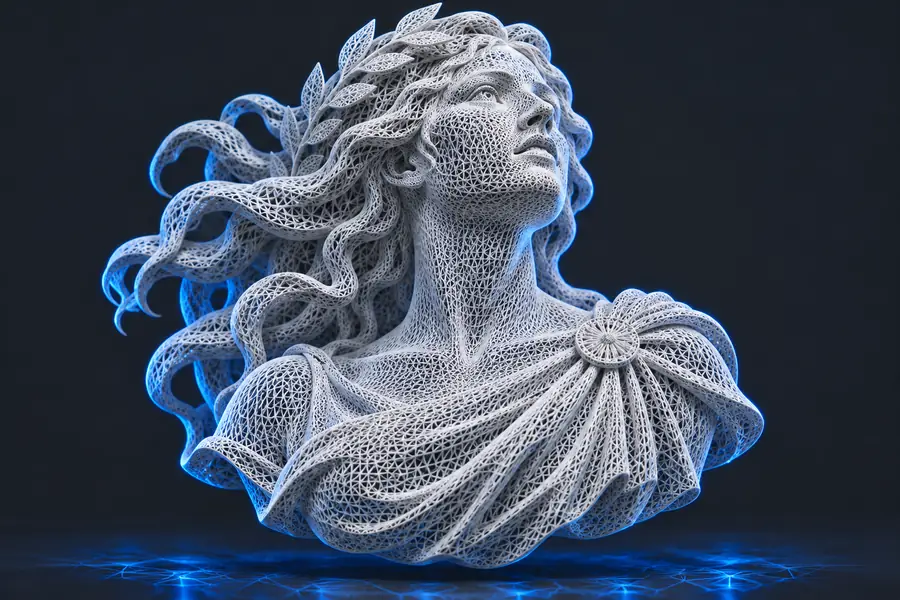

Check every interface before sending the pieces to a slicer.
Before: one meshAfter: separated partsDescribe the split you need, review the resulting structure, and use the separated parts as a more manageable starting point for printing or further modeling. Keep the original file unchanged so you can compare the conversion and revise the plan if a seam, wall, or assembly feature needs work.
These answers cover the practical questions that usually come up when separating an STL in a browser-based workflow.
It is used to divide one STL mesh into multiple sections that can be inspected, oriented, and prepared separately. This is especially useful when a model is too large for the print bed or needs to be assembled from several pieces.
It can create separated geometry and may support a planned division, but visual separation does not automatically guarantee assembly fit. Check the mating surfaces and add clearance, pins, or other joining details when the final fit matters.
The original surface detail can remain, but the operation changes the structure at the cut boundaries. Inspect for thin walls, open edges, small fragments, and other artifacts before treating the parts as print-ready.
Yes, splitting can make a large or awkward model easier to fit on a printer bed and orient for fabrication. You should still test each resulting part in your slicer because supports, strength, seam visibility, and material behavior depend on the chosen cut.
Check that every intended part is present, surfaces are closed, scale has not changed, and the interfaces match the assembly plan. Then inspect orientation, wall thickness, supports, and tolerances before committing to a final print.